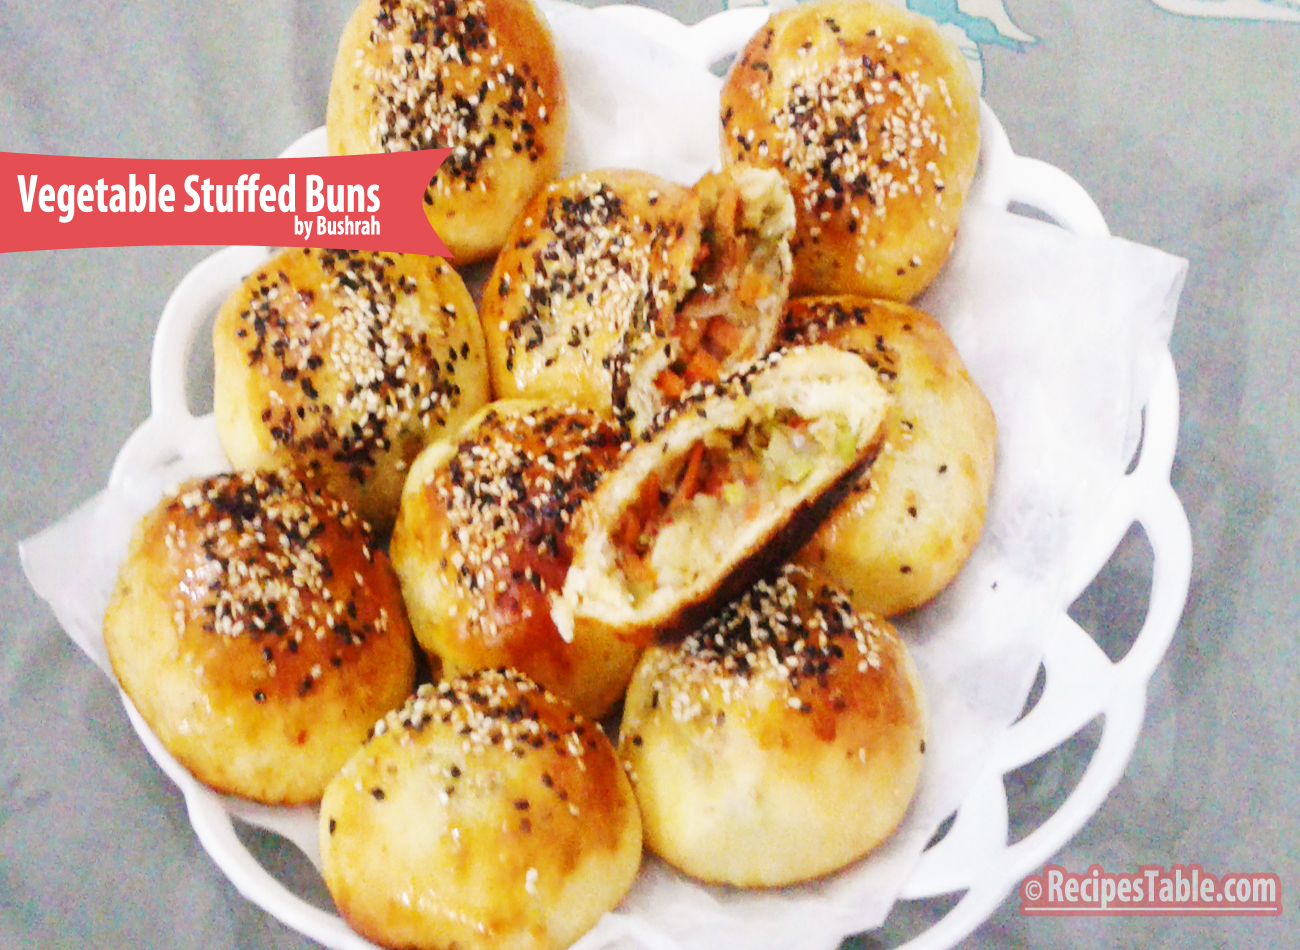

Vegetable Stuffed Buns Recipe
So warm, soft, Fluffy, fragrant and stuffed with fresh veggies – no can or frozen veggies, all real – totally yummy ( + point is it contains only 200 calories). Try making these if you’re looking for the ultimate comfort food.
Servings 18
Ingredients
For Buns Dough
- 3 1/2 cups all-purpose flour
- 1 cup warm milk
- 2 tablespoon dry milk powder
- 1/2 cup water might use less
- 1 egg lightly beaten
- 2 teaspoon sugar sugar
- 4 tablespoon olive oil you can use simple cooking oil
- 4 tablespoon melted butter
- 1-1/2 teaspoon instant yeast
- 1 teaspoon salt
For Buns Stuffing
- 2 boiled potatoes
- 1 cup shredded cabbage
- 1/2 cup sweet corns
- 1/2 cup fresh green peas boiled
- 2 green onion thinly sliced
- 2 green bell pepper thinly sliced
- 2 carrots thinly sliced
- 1 teaspoon hot pepper sauce
- 2 teaspoon soy sauce
- 1 teaspoon herb seasoning optional (its my fav)
- 1/2 teaspoon black pepper freshly ground
- salt to taste
- 1 teaspoon butter
Other Ingredients
- 2 tablespoon sesame seeds i used white + black seeds
- 1 egg yolk beaten with a little milk for brushing the buns before baking
- melted butter for brushing
Instructions
- In a small bowl, add warm milk, sugar, salt and yeast and stir until the sugar and yeast dissolves and rest for 10 minutes.
- Sieve the flour in a large mixing bowl.
- Then add dry milk, oil, melted butter and egg in it.
- Mix well.
- Add the yeast mixture in the flour and knead for few minutes.
- Start kneading together and gradually add the water a little at a time.
- You may not need to use all the water, so add it sparingly until your dough comes together and is nice and soft.
- Knead for a good 8-10 minutes. The more you knead the dough, the softer the buns will be.
- Touch a bit of oil with your fingertips and apply all over the ball of dough and trasnfer into a bowl.
- Cover the dough with wet cloth and set aside for 1 hour for it to double in size.
- Meanwhile, prepare your buns stuffing.
- Peel potatoes and mash them roughly.
- Melt 1 teaspoon butter in a frying pan over medium heat.
- Add green peas, carrots and sweet corns. Cook and stir for few minutes until crispy-tender.
- Now add green pepper, cabbage and green onions, cook for 2-3 minutes.
- Add potatoes and a splash of soy sauce and hot sauce.
- Season with salt and pepper.
- Cook and stir for 2 more minutes or until all done.
- Sprinkle the herb seasoning over it and turn the heat off and let it cool down completely.
- Once dough risen, Punch it down and divide it into 18 small balls ( depending on the size of buns your would like).
- Line the baking tray with baking sheets.
- Roll out each ball into a circle.
- Place vegetable stufing in the center, then ball it up and seal the edges.
- Place it on the prepared baking tray and repeat it with remaining dough.
- Cover the tray with a light cloth and let them rose for 30 minutes.
- Now brush each buns with beaten egg.
- Then sprinkle some sesame seeds all over.
- Bake in the pre-heated (180 degree C) oven for 18-20 minutes or until buns turn golden brown.
- Remove from the oven.
- Brush butter on top of the buns and cover them with a cloth so they get really soft.
- Serve warm and enjoy.
Notes
Serving Suggestions:
Serve warm with coffee or tea.
Serve warm with coffee or tea.