Easy and impressive, these sandwich biscuits embellish store-bought whole wheat biscuits with a decadent three ingredient date-and-nutty spread that has a honey like sweetness and caramel overtones. Heavenly Delicious !

Almost everyone enjoys having evening or morning tea with some light snacks. And if are a tea lover like me, cookies or biscuits would probably be your favorite tea companion. No matter which hot beverage you enjoy everyday, switching to healthy snacks is always a good idea for your health. I love digestive biscuits, but thanks to my sugar craving that persuaded me to turn these whole wheat slices into a delicious healthy treat to satisfy my sweet tooth.
Why These Date-Filled Sandwich Biscuits are a smart choice
- When you substitute dates for table sugar, you get a bunch of other nutrients along with your sugar! Sugar is just food that’s been stripped of all fiber, vitamins, and minerals, so why not make your treats sweet with something that actually provides all of those? Dates are high in calories, but unlike sugar, the calories obtained from dates come with a lot of nutritional properties.
- Dates are rich in potassium, iron and other beneficial plant compounds. The high soluble fiber content helps in fighting off sugar cravings and stimulate the growth of healthy bacteria in the intestines. I prefer to use dates in dessert as a replacement for sugar.

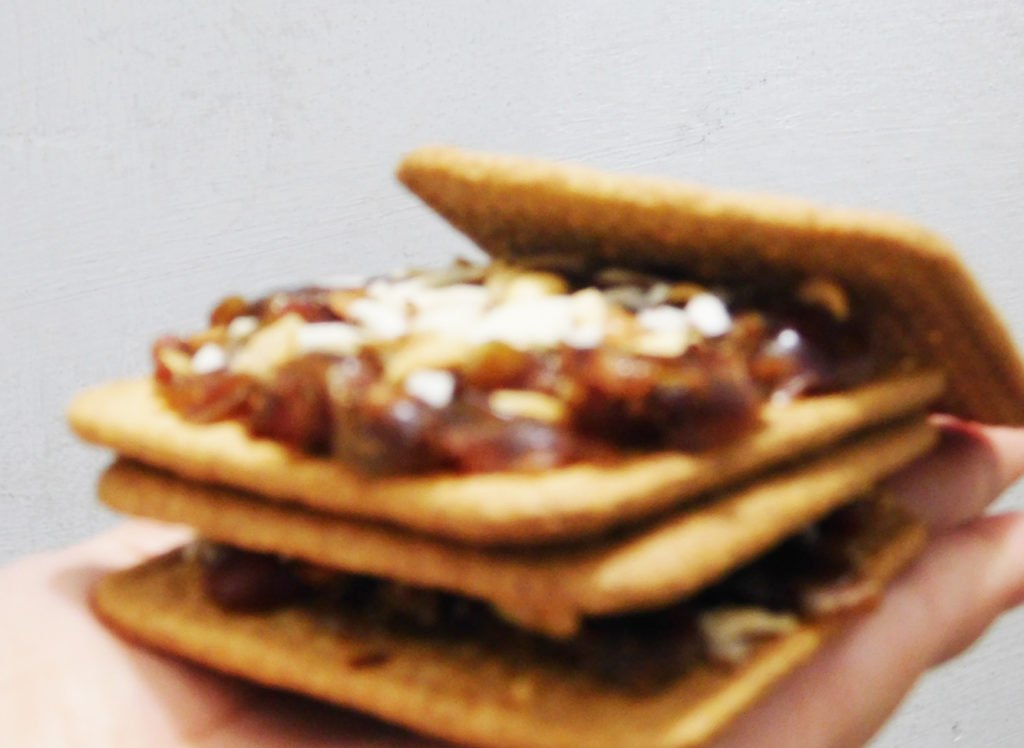
Enjoy the sweet, delicious taste of dates in these double-layered sandwich biscuits. This Date-Filled Sandwich Biscuits Recipe is very easy to follow, and the sandwich are a genuine treat that is hard to resist. These wholesome, healthy sandwich biscuits will quickly become one of your favorites. I use the word wholesome because they are made with whole wheat biscuits. Whole wheat provides more fiber. You will love the simplicity and the nutty flavor of these Hearty Date-Filled Sandwich Biscuits.

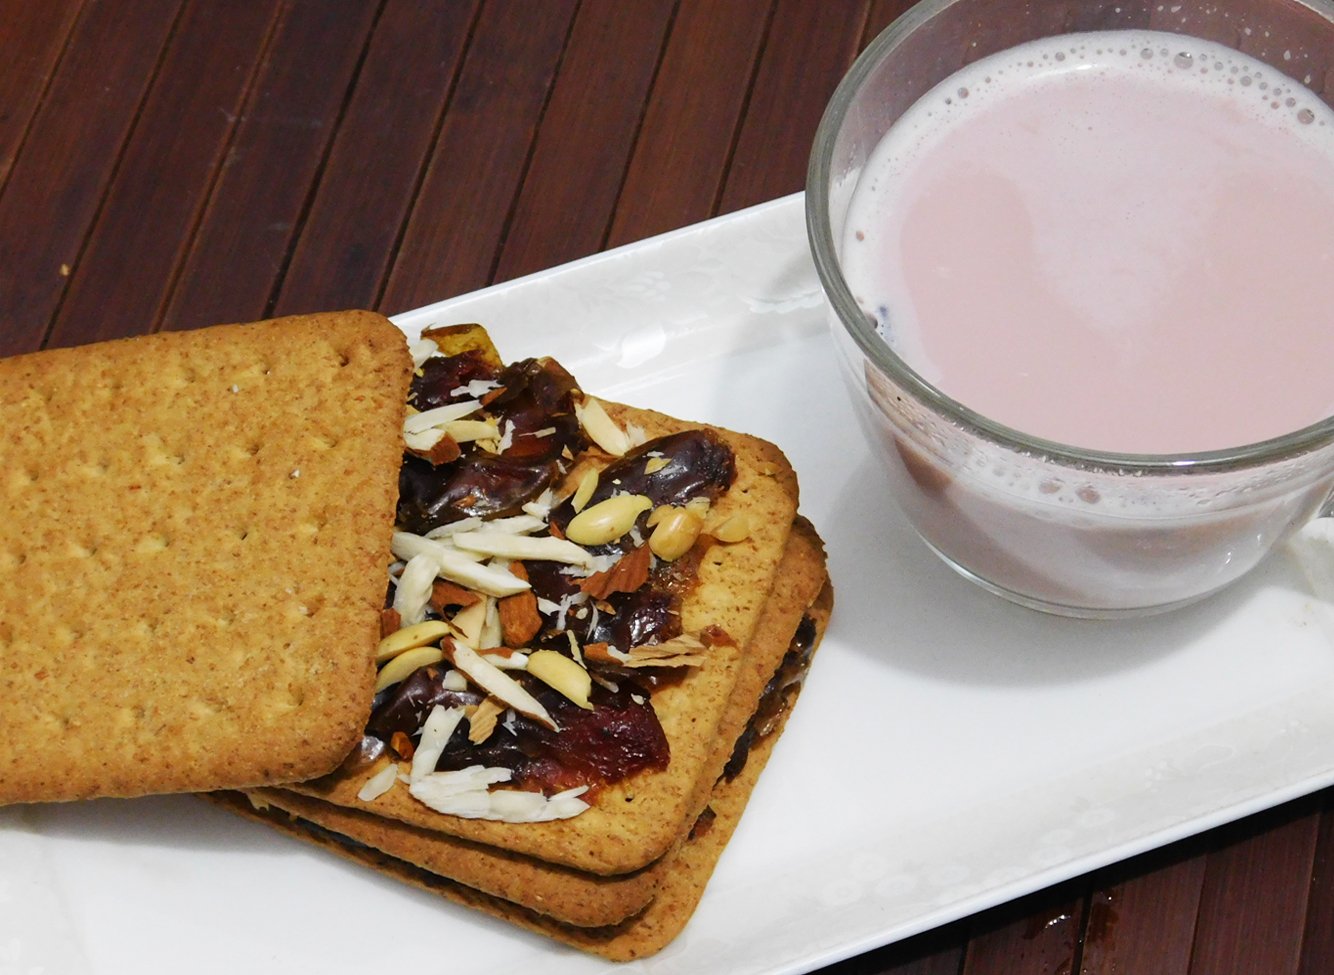
They are perfectly sweetened with dates and make a great breakfast sandwich. As an added bonus, these healthy sandwich biscuits hold up perfectly when dunked in your hot beverage of choice. I enjoyed it with Kashmiri Green Tea. I know for sure that I’ll be experimenting more with dates in the future, but for now the best way I can think to eat them is squished between two Whole Wheat Sandwich Biscuits. Crunchy, soft, chewy and sweet. And they’re insanely good.

Ingredients in Date-Filled Sandwich Biscuits Recipe?
All you need Whole Wheat Pure Fiber Slices, pitted Medjool dates and nuts for topping. Surprisingly simple ?
How to Make this Date-Filled Sandwich Biscuits:
As I mentioned, these Date Filled Sandwich Biscuits are simple to make and they come together in no time at all.
To make this sandwich biscuits, simply:
- First of all, smashed the dates with a fork. Medjool dates have a rich, almost caramel-like taste and a soft, chewy texture whereas regular dates and are easy to spread.
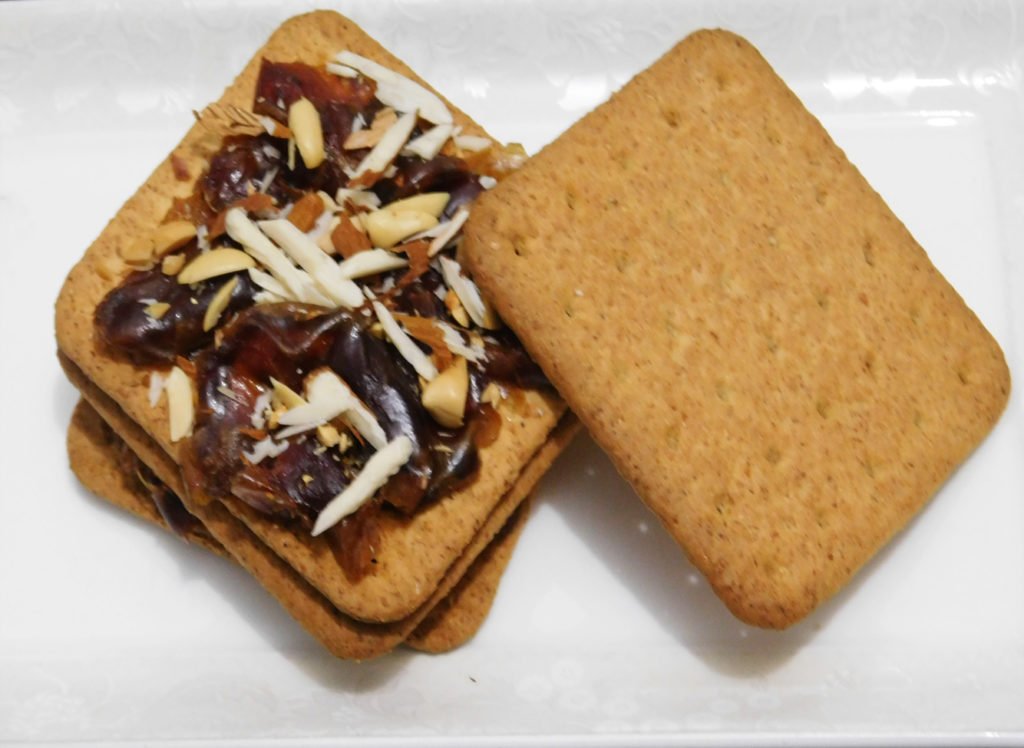
- Then arrange 4 whole wheat biscuits on a plate or sheet.
- Spread 3 smashed dates on each biscuit; sprinkle peanuts, almonds and pistachios and cover the sandwiches with remaining biscuits and enjoy 🙂
Bismillah let’s get started.
Check it out The Date-Filled Sandwich Biscuits and printable version here!!

Date-Filled Sandwich Biscuits Recipe
Ingredients
- 8 Whole Wheat Pure Fiber Slices
- 12 Medjool dates pitted
- 2 tbsp chopped peanuts
- 2 tbsp chopped almonds
- 2 tbsp chopped pistachios
Instructions
- All you need to make these sandwich biscuits are dates, whole wheat slices or any cookies, nuts and a fork!
- Smash dates with a fork.
- Medjool dates have a rich, almost caramel-like taste and a soft, chewy texture whereas regular dates and are easy to spread.
- Set aside.
- Place 4 whole wheat biscuits on a plate or sheet.
- Spread 3 smashed dates on each biscuit; sprinkle peanuts, almonds and pistachios and cover the sandwiches with remaining biscuits.
- Serve immediately and enjoy 🙂
Want more Healthy Snack Inspiration?
Here are some other healthy recipes on my blog:
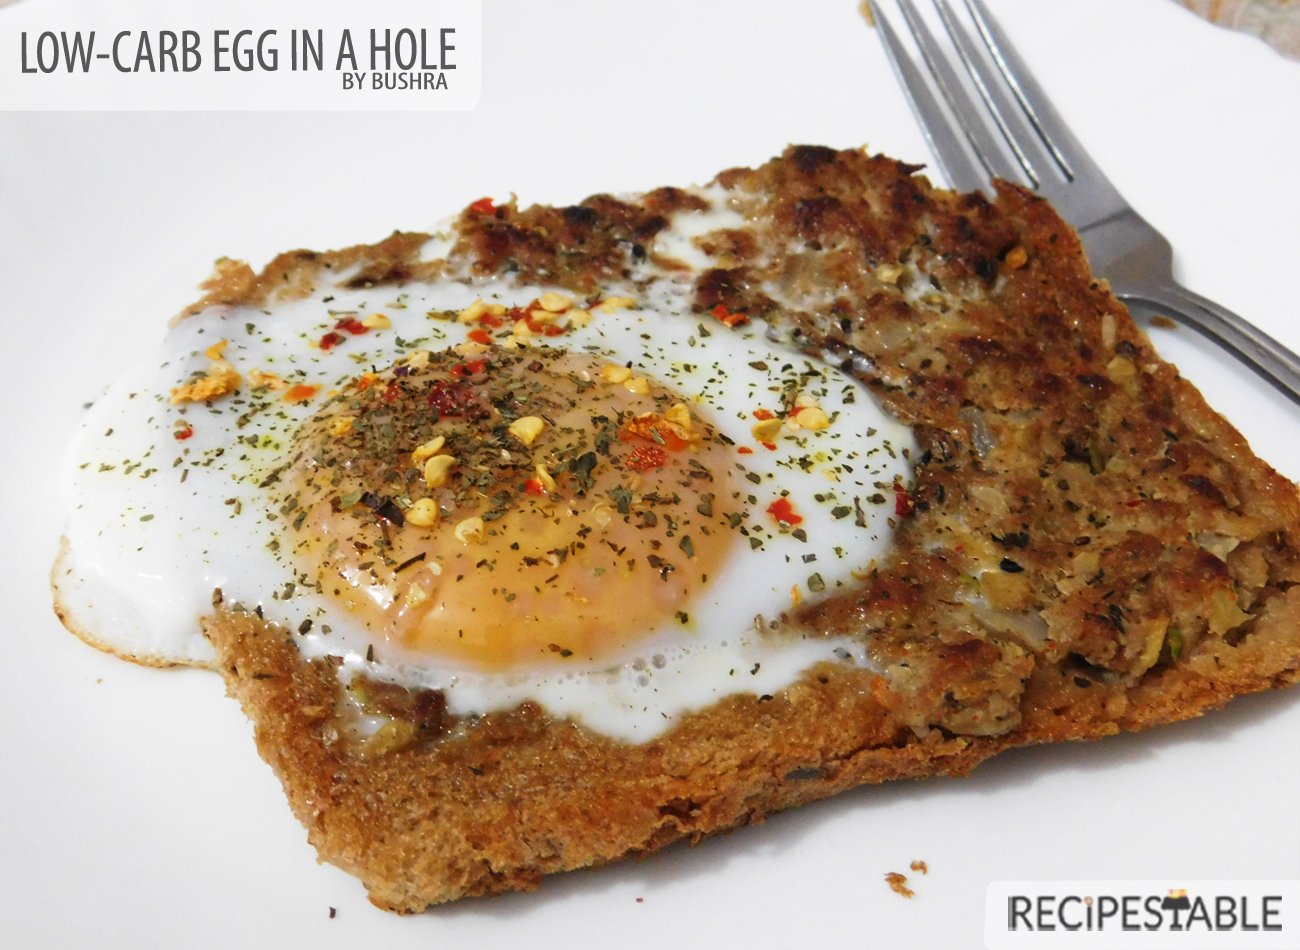
- The Low-Carb Solution to Egg in a Hole Recipe
- Chocolate Date Bars Recipe
- Lamb Corn Fritters Recipe
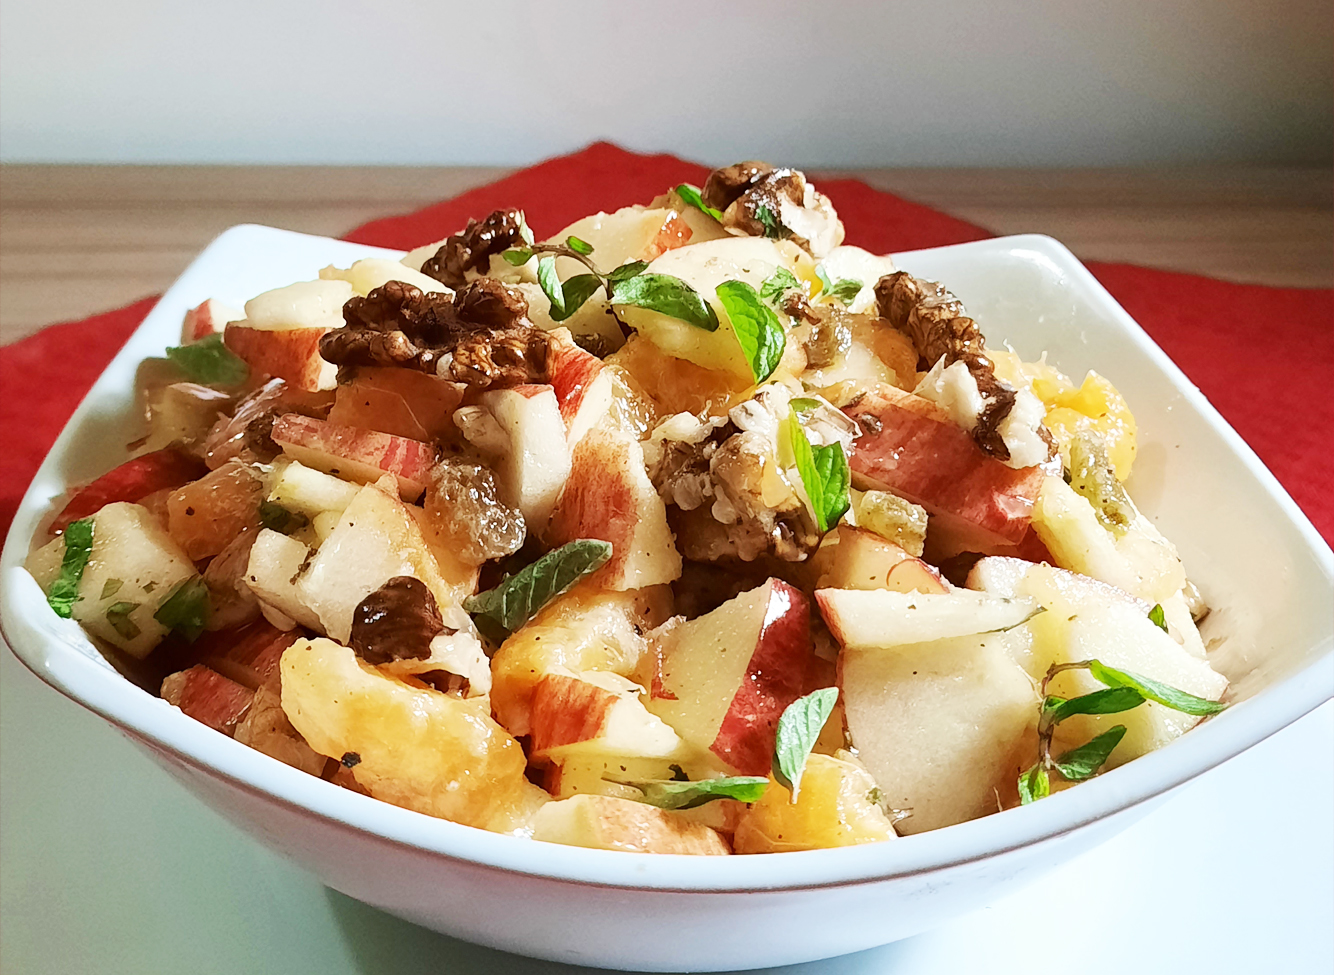
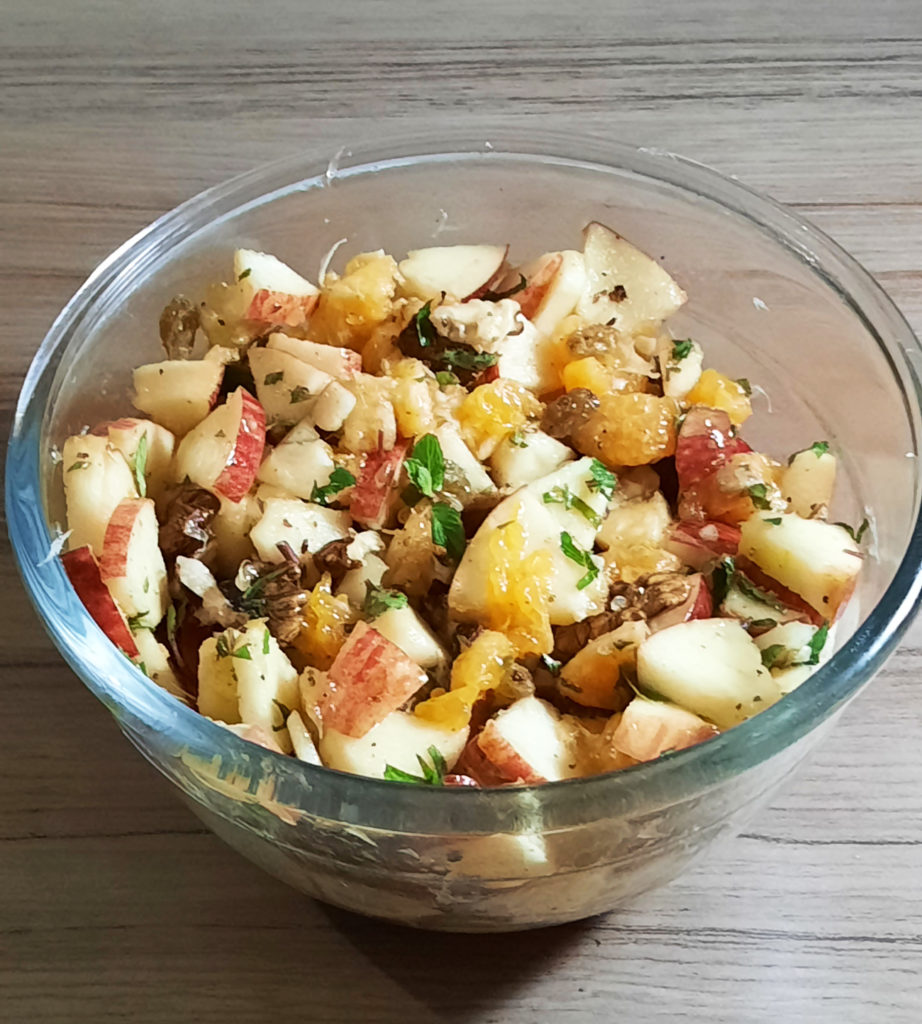
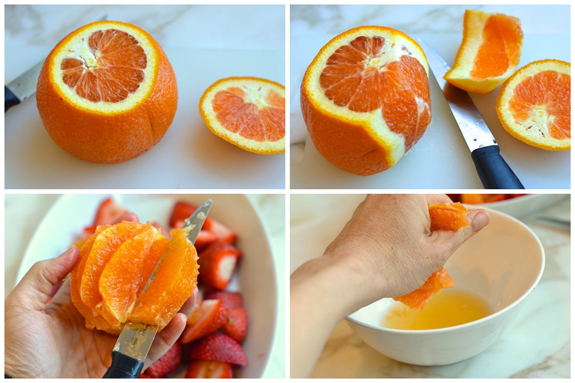
- Feel-Good Apple and Orange Salad
- Hearty Mince Lettuce Cups Recipe
- Broccoli Spaghetti Soup Recipe
Hope that you all enjoy this one as much as I have! Enjoy!
Pin it For Later

If you make this recipe, please let me know! Leave a comment, rate it, or snap a photo and tag it with #recipestable on Instagram! I’d love to see your creations!


