This post may contain affiliate links. Please read my disclosure policy.
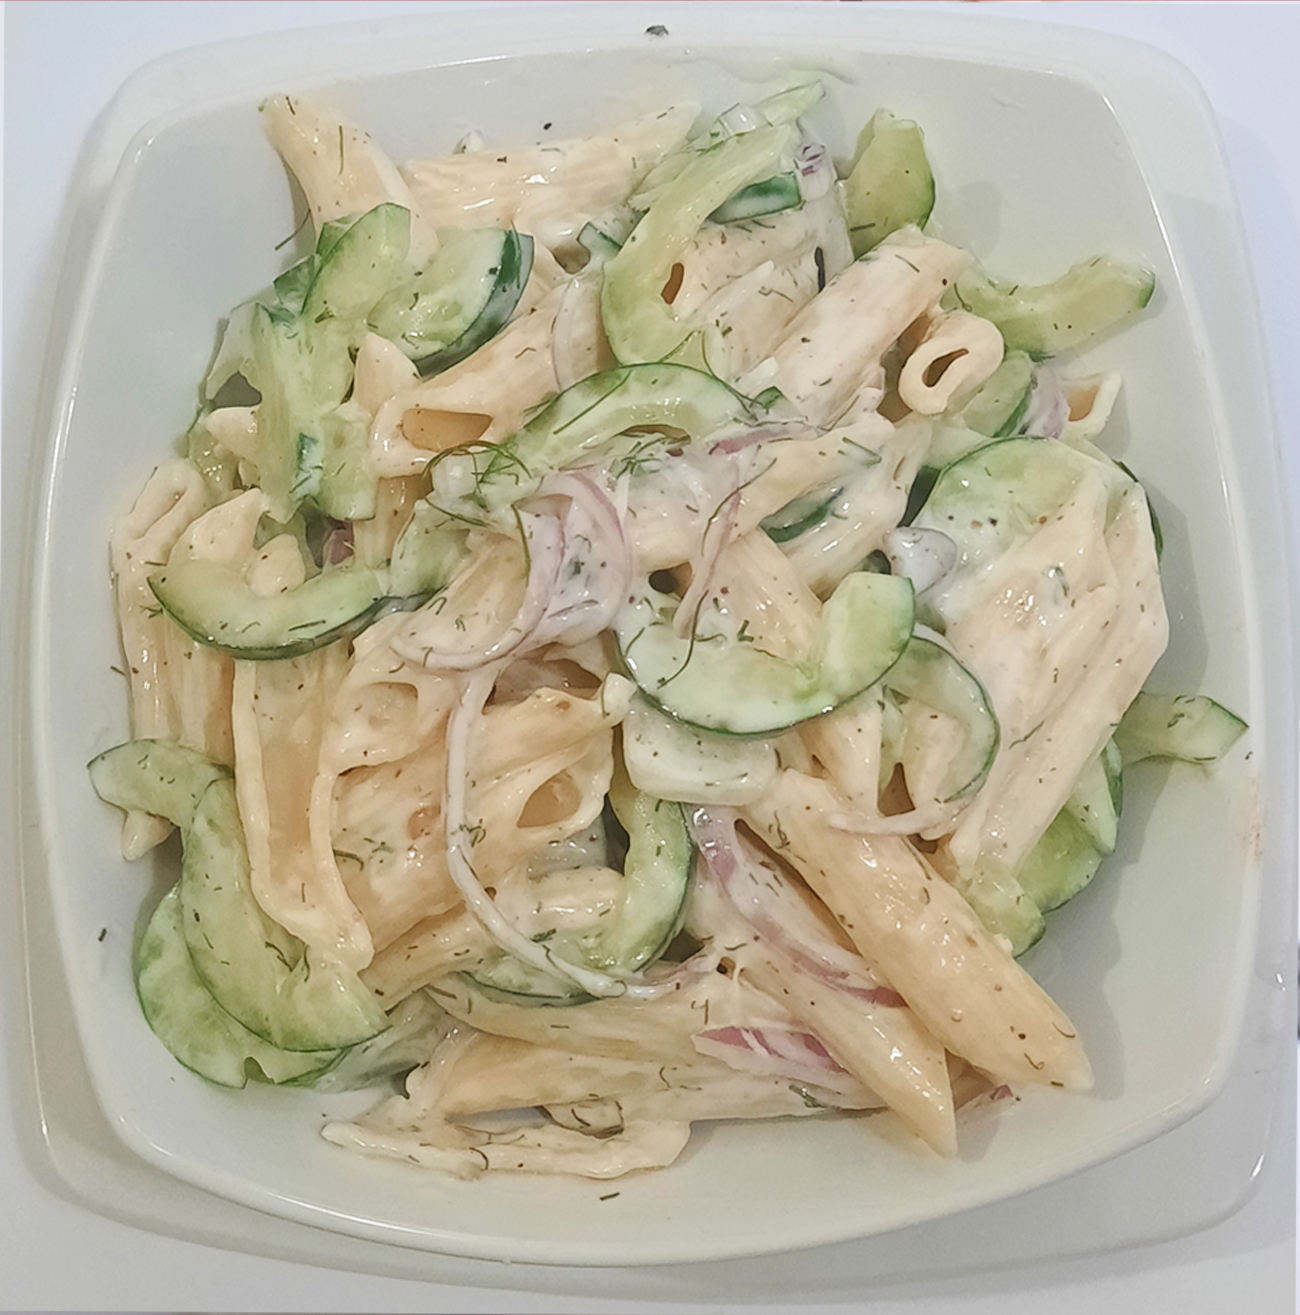
This quick and easy Creamy Cucumber Pasta Salad combines a creamy dressing – like a mixture of Greek yogurt or sour cream – with freshly sliced cucumbers and red onions along with plenty of chopped dill! It’s the perfect unique pasta salad recipe for your next barbecue party.

Loaded with tender pasta, crisp juicy cucumbers, fresh dill and red onion, this dish will be the hit of every get together. And it comes together within just few minutes and it’s incredibly delicious! The dressing in this salad doesn’t have a lot of ingredients, but that’s really the beauty of this recipe! The fresh Greek yogurt adds a little zip to the dressing while the dill adds summery freshness complementing the cucumber and cooked pasta perfectly!

If you have access to fresh dill, it really makes a huge difference in this salad.
Ingredients in Creamy Cucumber Pasta Salad Recipe?
- Pasta: penne or rotini pasta
- Cucumbers: fresh long English cucumbers work the best for this recipe
- Onion: red onion (can sub white for less of a “bite”)
- Dressing: sour cream or Greek yogurt and vinegar
- Herb: fresh dill
- Spices: salt and pepper
Ist Gather Your Equipment’s:
- a Sharp Knife, for cutting
- a round spoon, to remove seeds
- Spatula, for mixing
- Cutting Board
- Hand Whisker
- Large Glass Bowl
How to Make this Creamy Cucumber Pasta Salad:
This is such an easy recipe, y’all. Seriously. Yes to Summer recipes that don’t require hardly any effort!
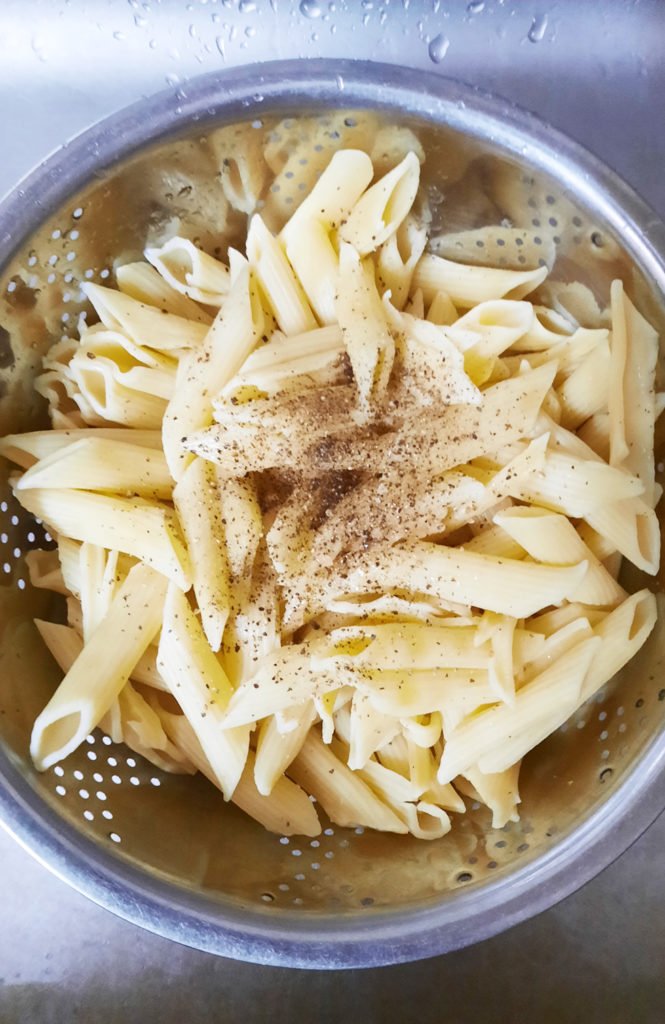
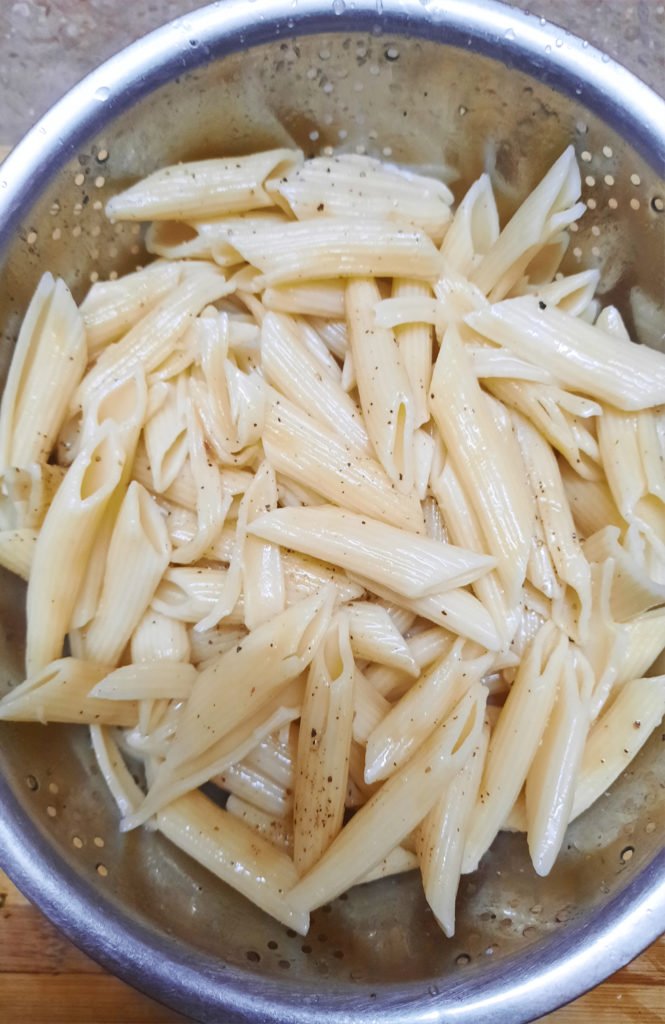
1. First, begin by cooking your pasta according to the box instructions! Make sure to salt your water and cook the pasta until al dente. Once it’s done, let it cool! If desired, rinse cold water over top to stop the cooking and speed up the cooling process.
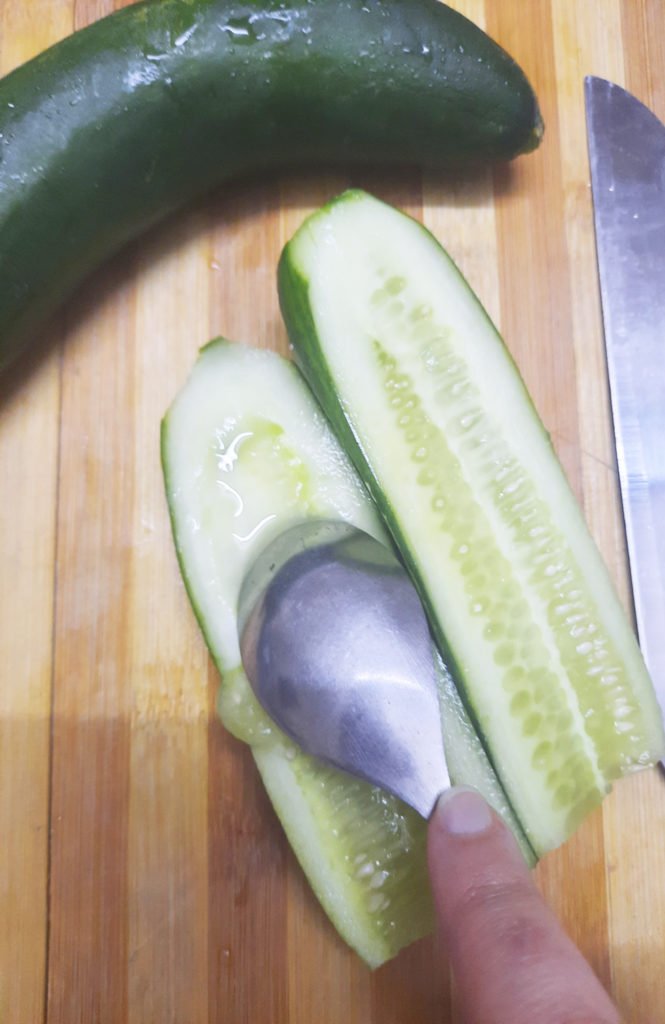
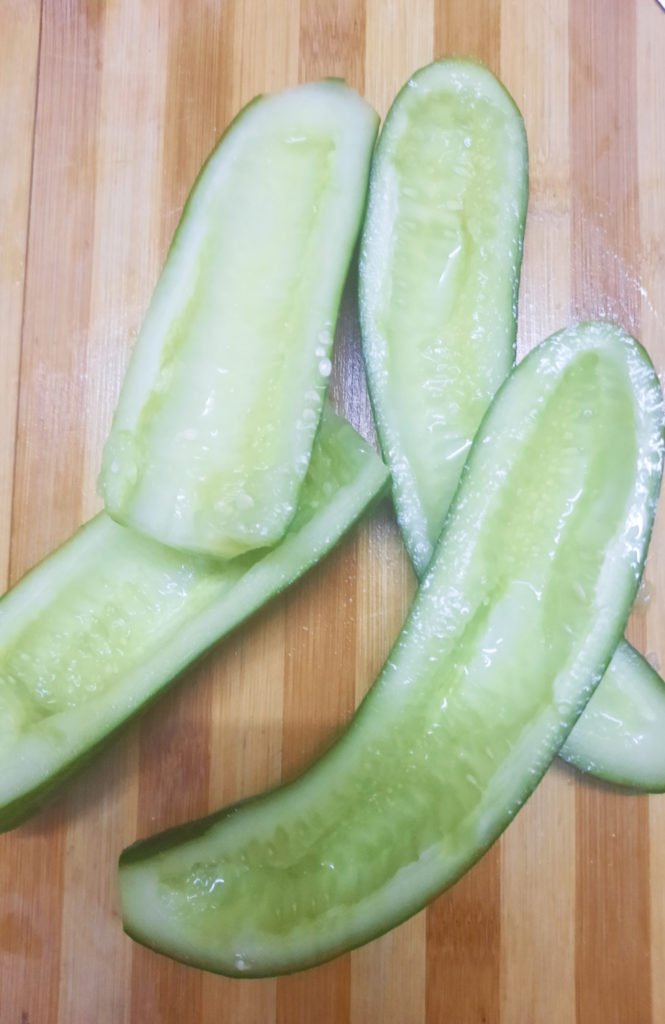
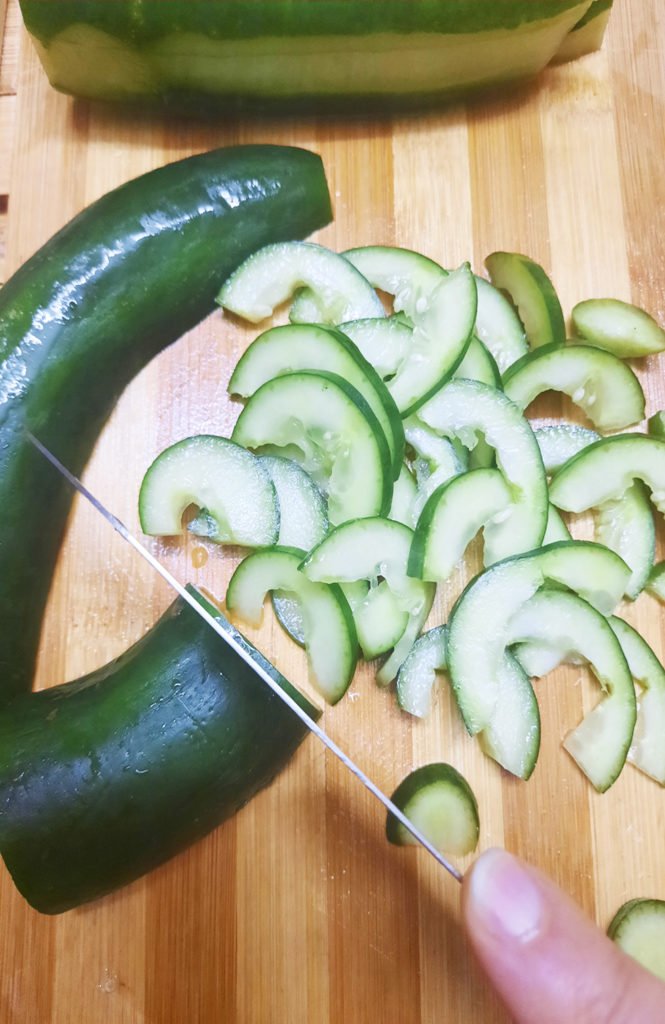
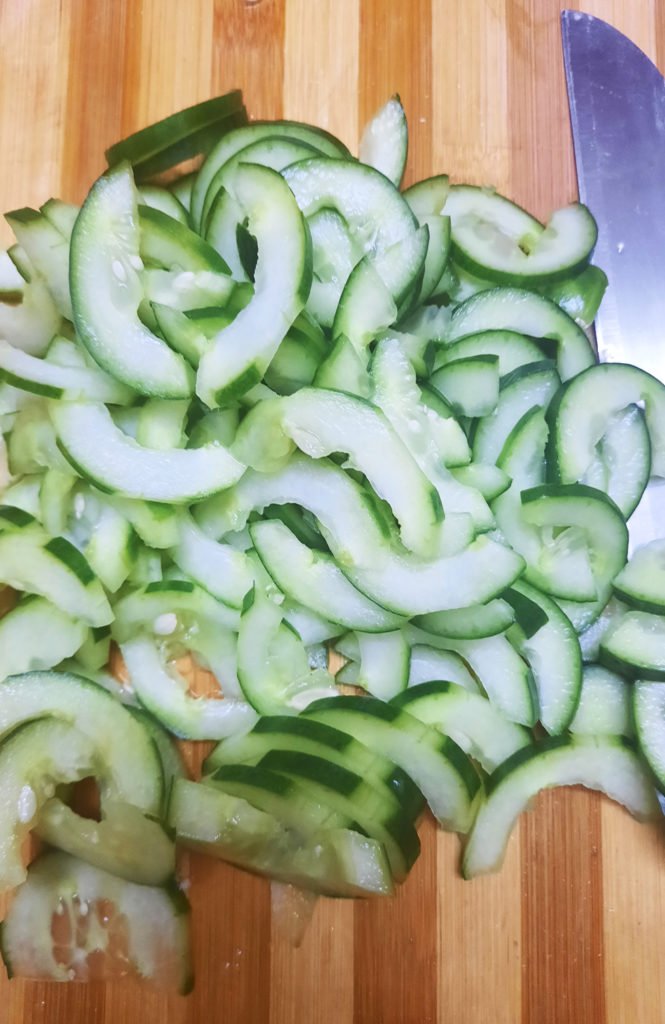
2. While the pasta is cooling off, slice up your cucumber! Slice it in half lengthwise and then slice very thin slices of cucumber.
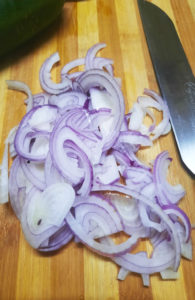
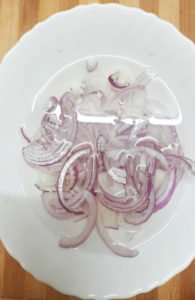
3. Do the same thing with the red onion! Thin slices go a long way here, folks! While it’s not required, soaking the onions in cold water for a few minutes takes just a little bit of bite out of them. .
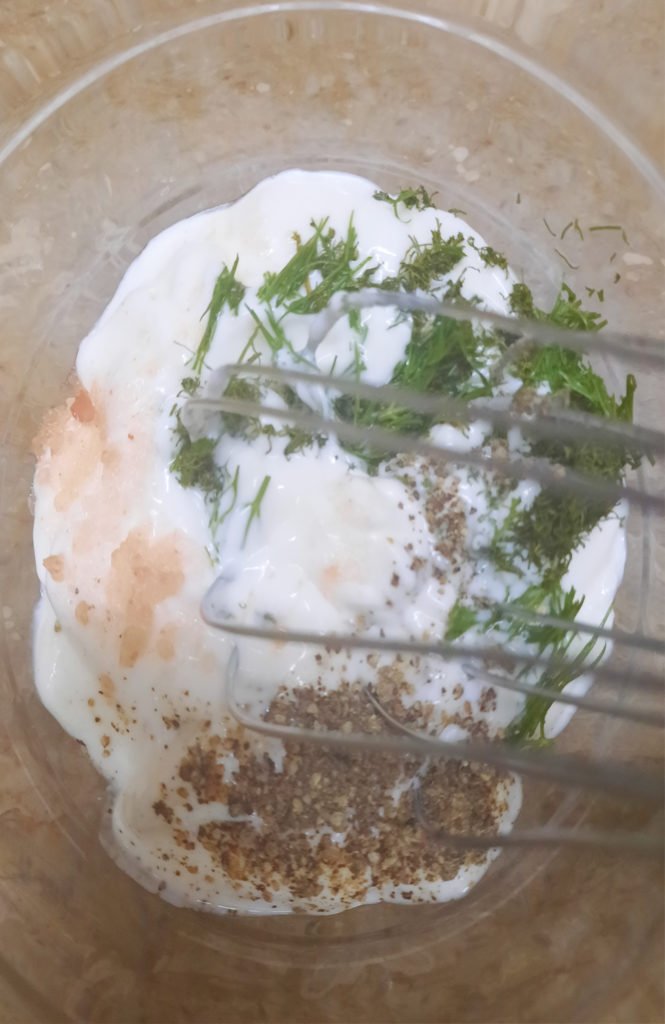
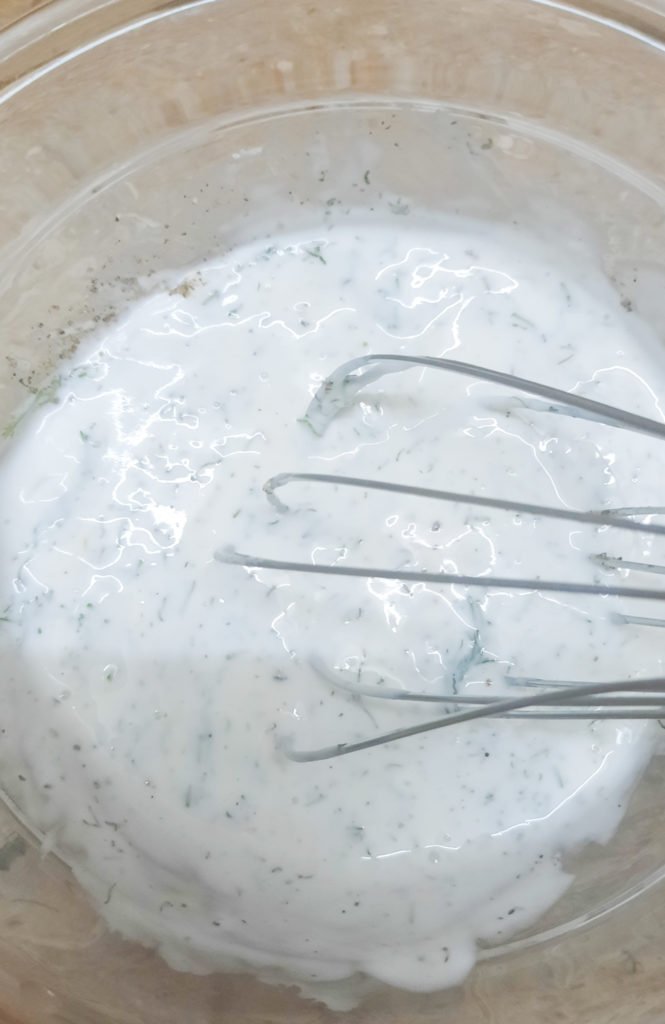
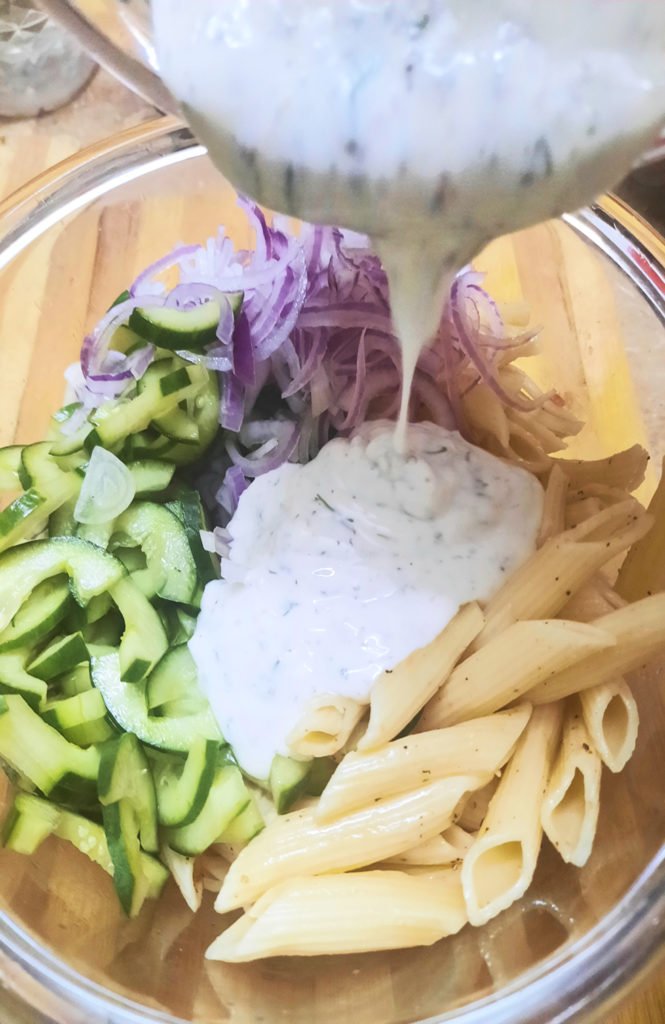
4. Next, mix together the delicious Greek yogurt dill dressing! Combine the Greek yogurt with the dill, vinegar, salt (i added the pink salt) and pepper. Mix until deliciously thick and creamy. Set this aside.
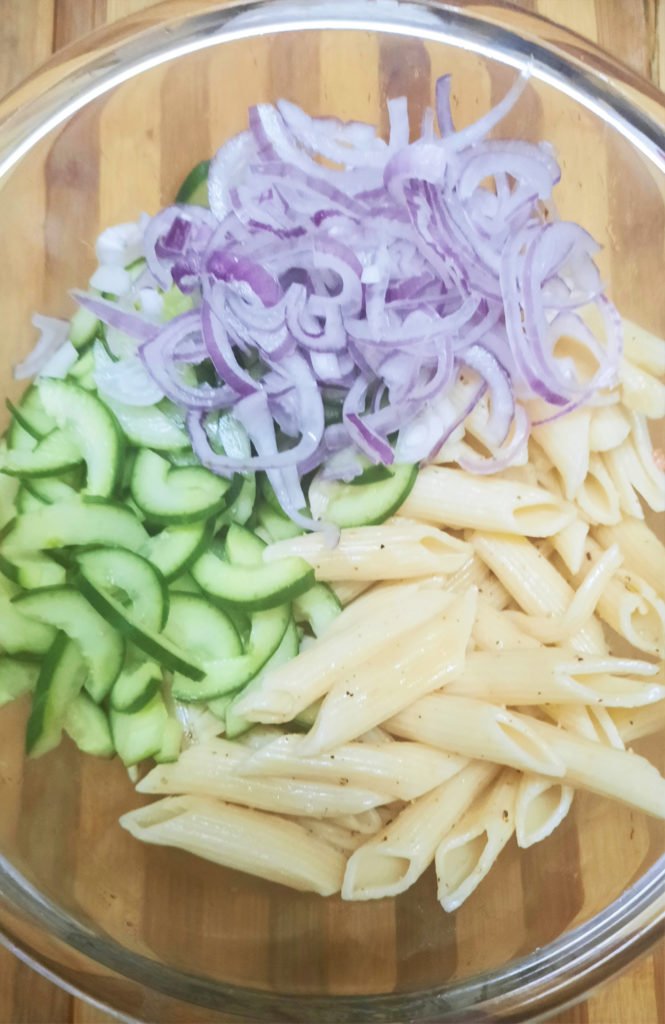
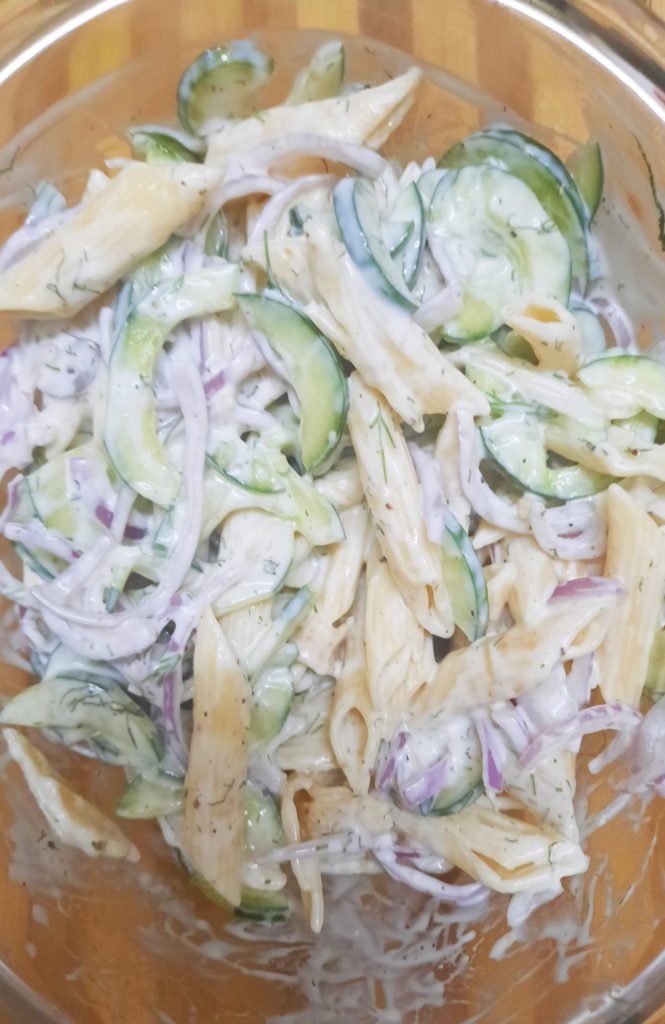
5. In a large bowl, add your cooled off pasta. On top, add your cucumbers, onions and all of the Greek yogurt dressing! Mix together gently until fully combined.
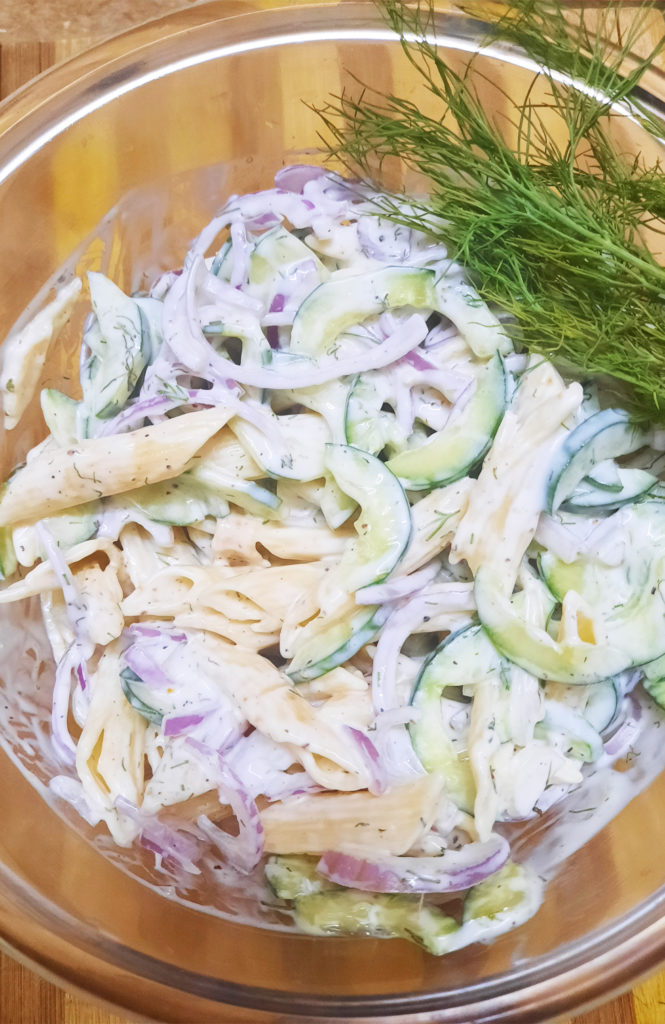
6. Taste and adjust the seasoning if necessary. I always love garnishing with a big pinch of extra dill – it makes it taste extra fresh and adds an amazing pop of flavor.
7. Let it sit in the fridge for about 20-30 minutes to make sure all of the flavors can melt together and it can stay cold! Enjoy when chilled and eat up! 🙂

Note: If possible try to toss this at least 1 hour before serving to allow the flavors to blend.
Bismillah let’s get started.
Check it out The Creamy Cucumber Pasta Salad Recipe and printable version here!!

Creamy Cucumber Pasta Salad Recipe
Ingredients
For Pasta Salad:
- ½ pound medium sized pasta such as penne or rotini
- 2 large English cucumber thinly sliced
- 1 medium red onion thinly sliced
For Salad Dressing:
- 1 cup sour cream or whole fat plain Greek yogurt can substitute mayo if desired
- 2 tbsp. fresh chopped dill
- 2 tsp vinegar
- 1/2 tsp salt
- 1/2 tsp pepper
For Garnishing
- fresh dill
Instructions
- Cook pasta according to package directions, until al dente. Drain and drizzle with oil and sprinkle with a couple pinches of salt and pepper. Toss to coat evenly and let it cool.
- While the pasta is cooling, Thinly slice onion and place in a bowl of cold water. (see note)
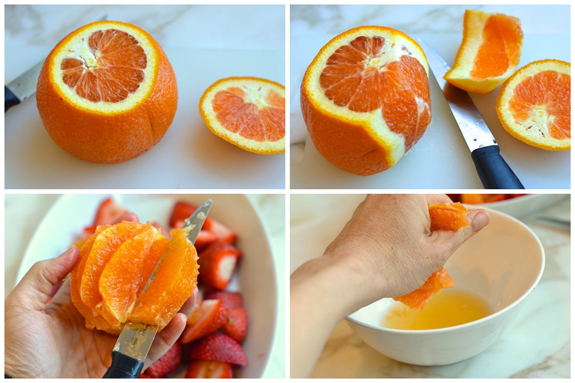
- Slice the cucumber in half lengthwise and remove seeds using a spoon then dice it into thin slices.
To Make The Salad Dressing:
- In a small bowl, mix the sour cream or Greek yogurt along with the vinegar, fresh dill, salt and pepper. Mix until fully combined. Taste and adjust seasoning if needed.
To Make The Creamy Cucumber Pasta Salad:
- In a large bowl, add the cooled rigatoni pasta. Top with the fresh sliced cucumber and red onion.
- Pour dressing over pasta and toss to combine.
- Place in the refrigerator for 20-30 minutes to let the pasta salad cool off and for the flavors to meld together.
- When serving, if desired, add a large handful of dill on top for garnish and an extra pop of flavor!
- Delicious Creamy Cucumber Pasta Salad is ready to serve. Enjoy!
Notes
Want more Pasta Salad Inspiration?
Here are some other Pasta Salad recipes on my blog:
Hope you guys loved this one and are having a great Summer. Let me know what your favorite garden produce is this time of year in the comments below!
Pin it For Later

Put your own spin on it. And lemme know how it turns out and do take a few seconds to rate it! I would love to see your recreations so tag me on instagram @recipestable or Facebook (Recipestable) or on Twitter so I can see how lovely yours turn out.


